
Dungeons of Dreadrock walkthrough
Howdy. So I hear you’re stuck in Dungeons of Dreadrock? Fear not, I’ve got the answer(s)! Whether you’re after just a hint, or the solution, you’ll find it here. Enjoy, and I hope the guides below help!
Part 2, levels 51-100 is here.
Video walkthrough (full solutions 1-50)
Dungeons of Dreadrock Hints
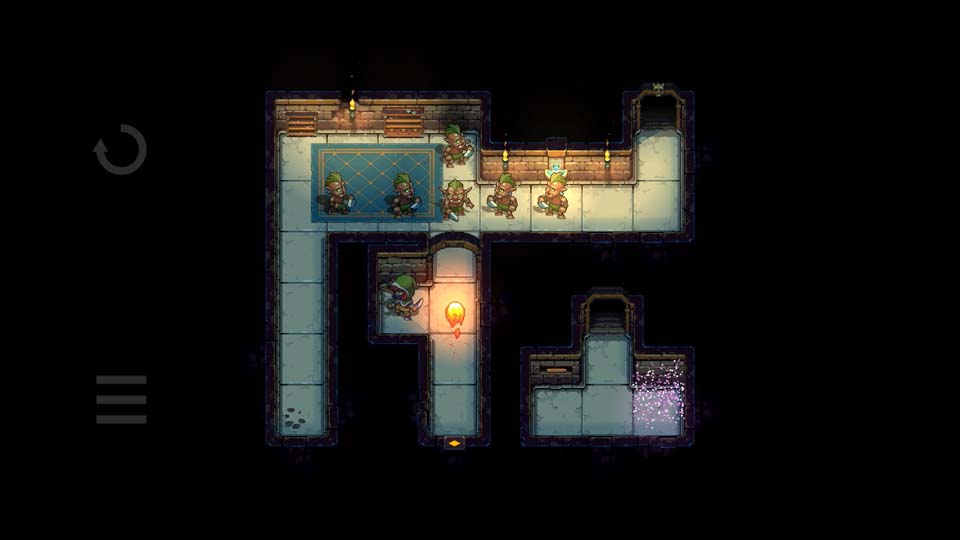
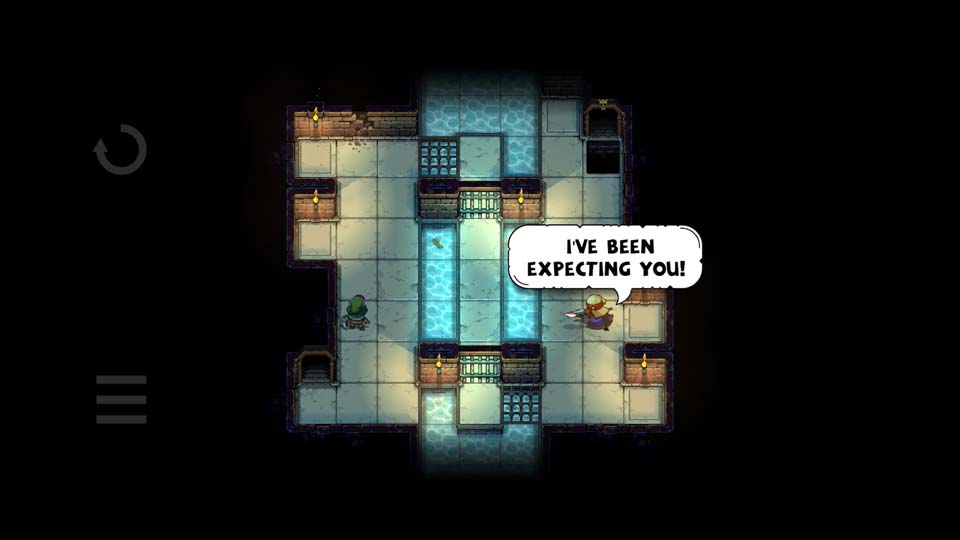
Dungeons of Dreadrock chapter 1
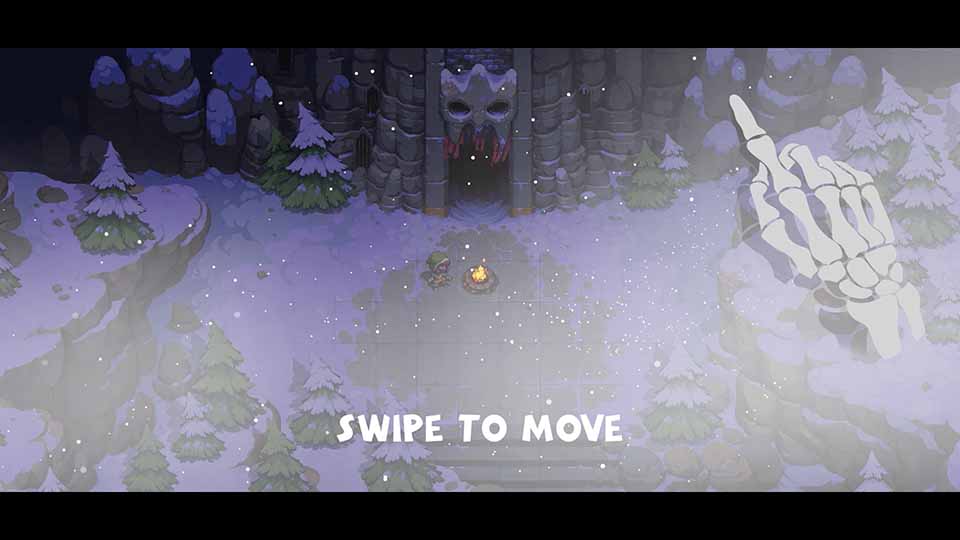
Swipe to move around the level. You can attempt to go south (down) to the village or east (right) into the mountains, but there is only one way out of here. Into the totally-not-ominous-looking dungeon! Yes, this is technically chapter one of the game.
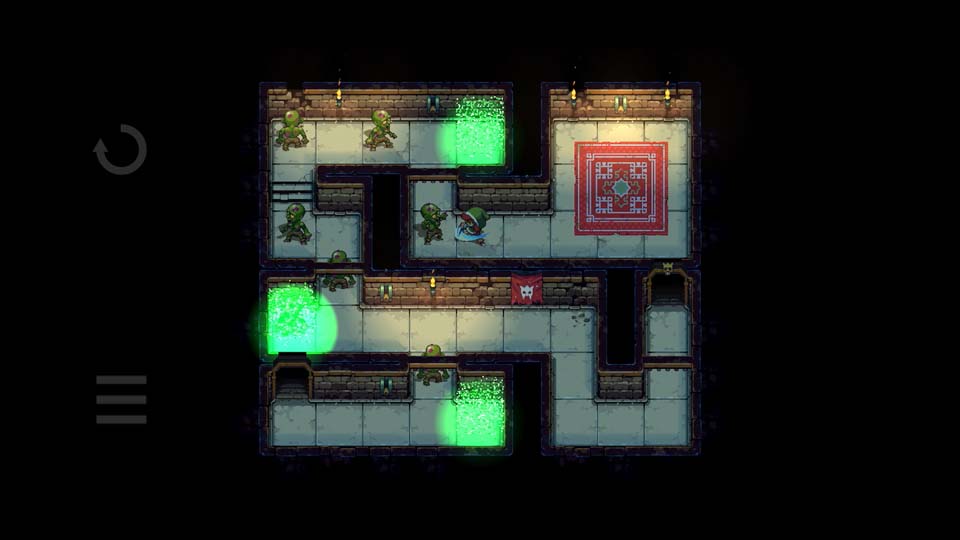
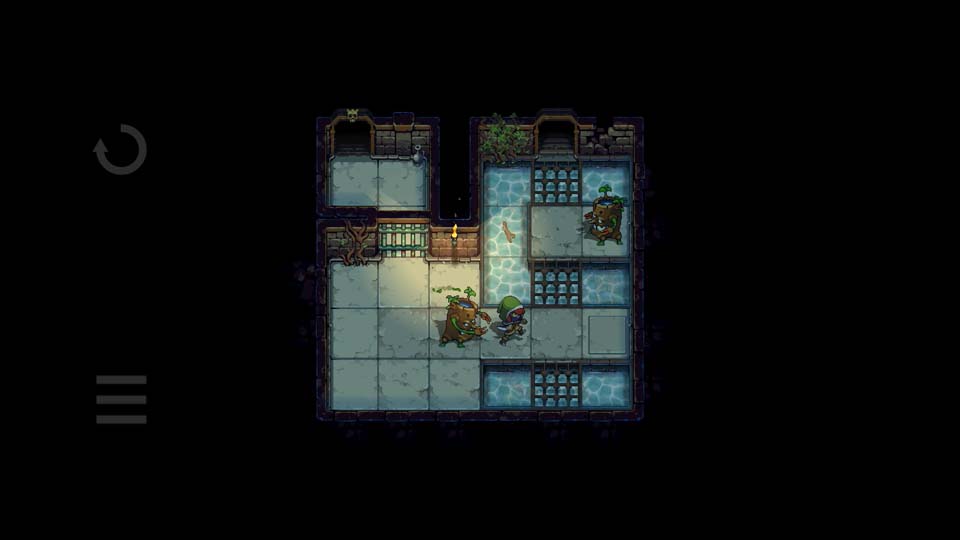
Dungeons of Dreadrock chapter 2
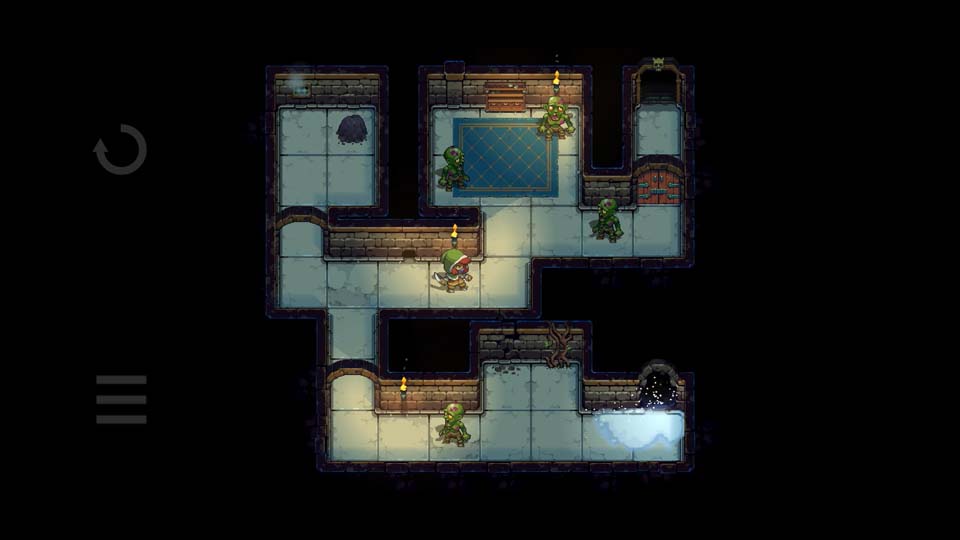
This is the level where you get the sword! The tricky part is at the start. You just need to go around the first zombie, which you can do in the 2×2 section right near the entrance.
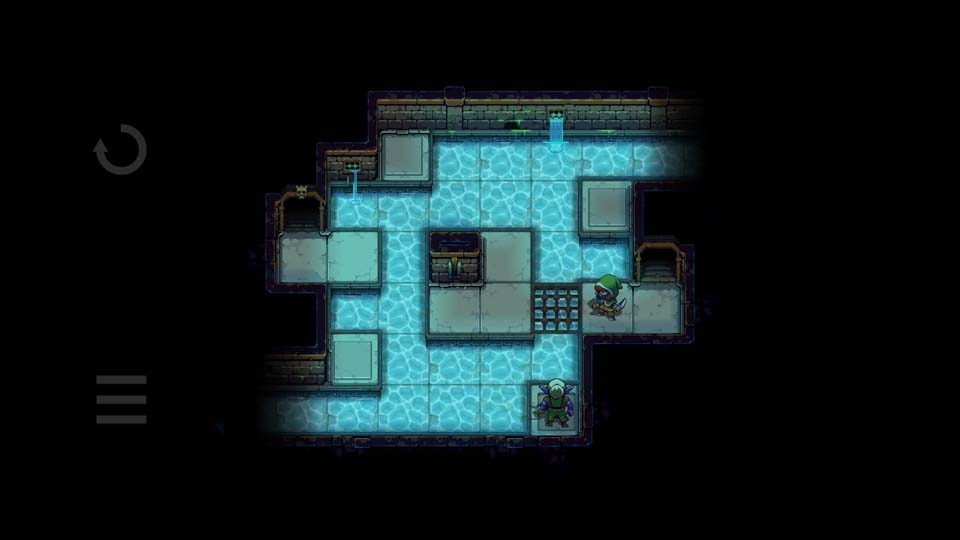
Dungeons of Dreadrock chapter 3
Pressure plates reset after a little while – make sure to keep an eye out! There’s an audio cue as well, but it gets trickier when there’s multiple pressure plates around.
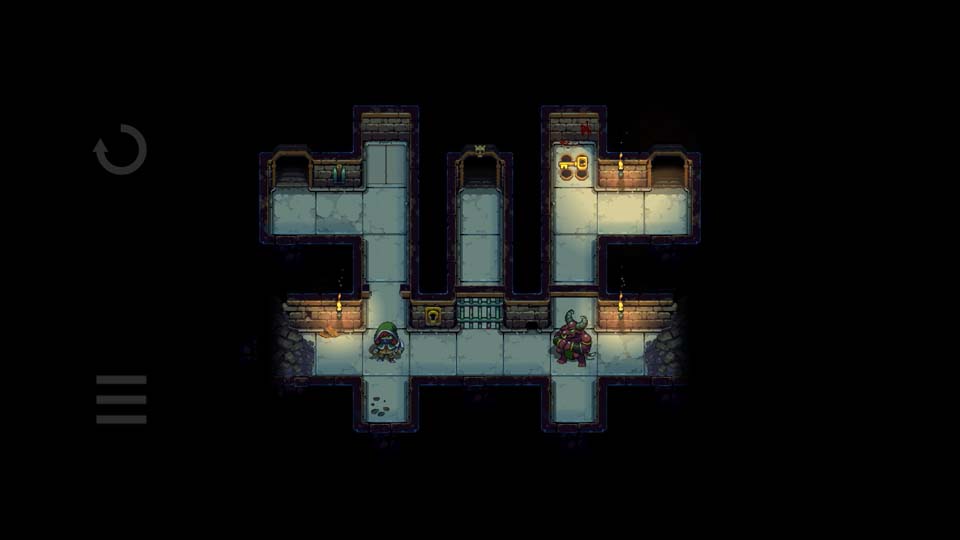
Dungeons of Dreadrock chapter 4
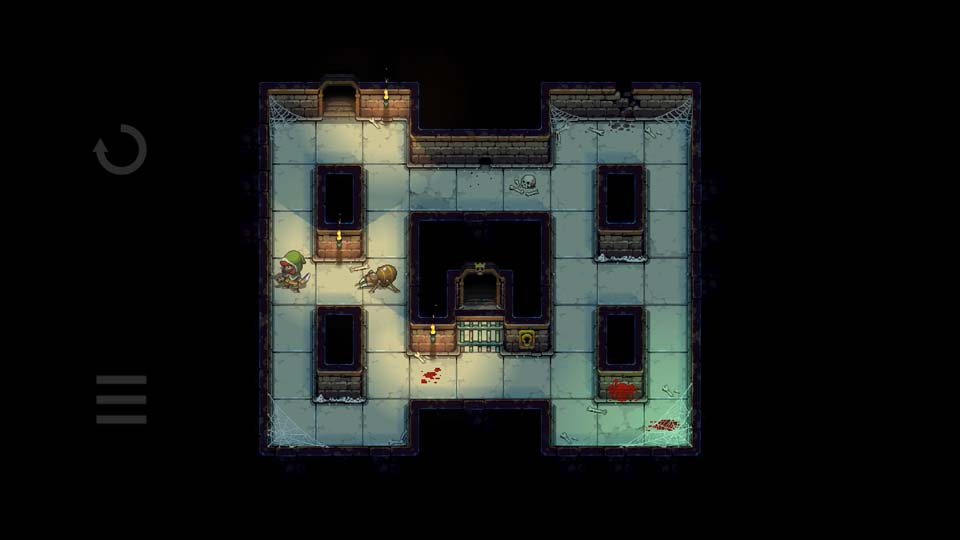
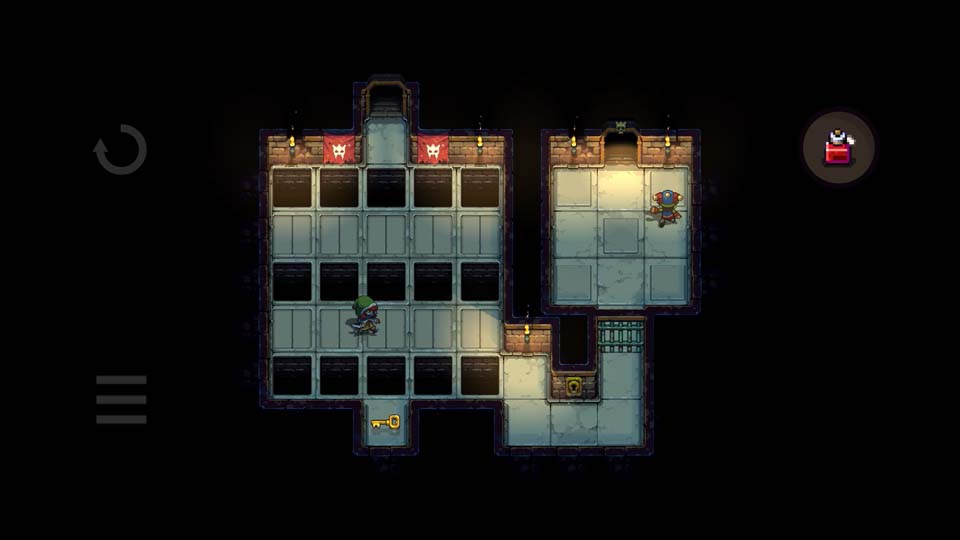
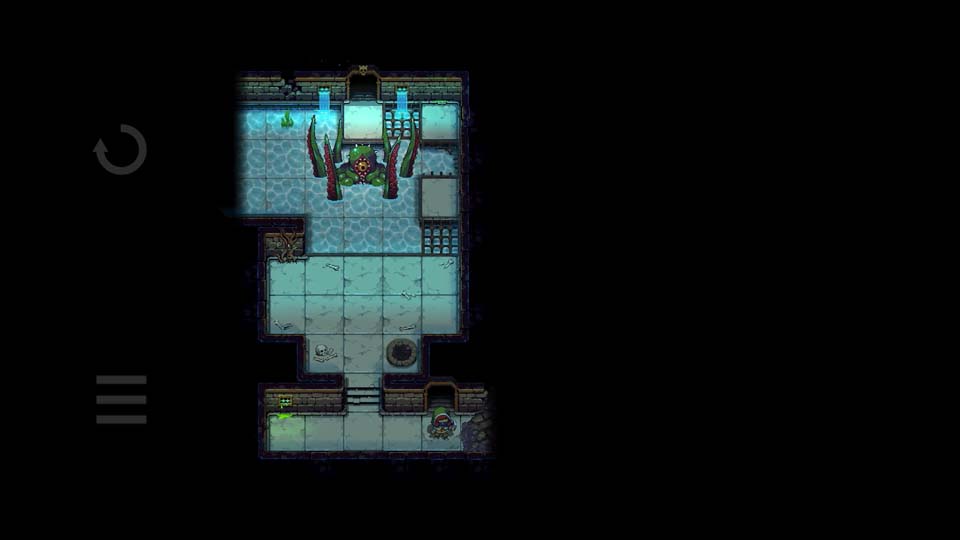
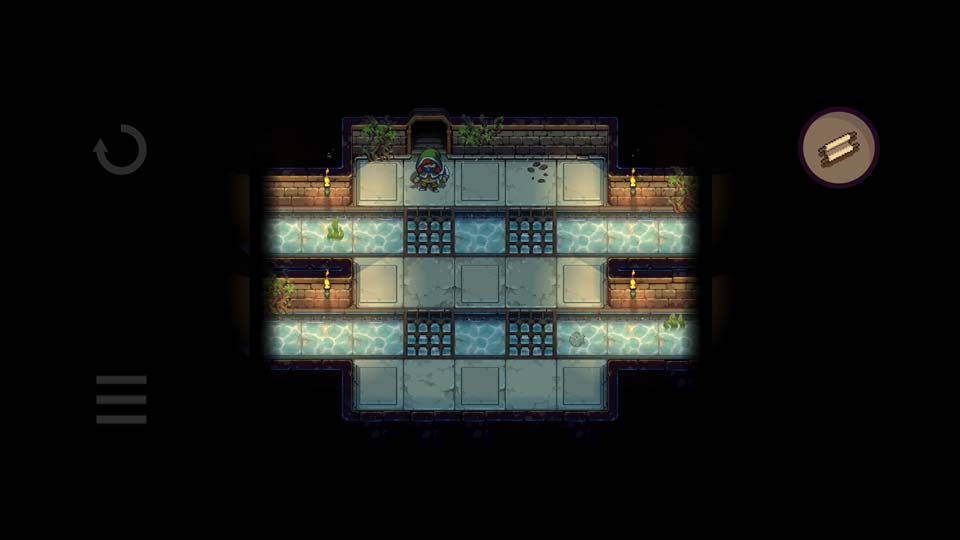
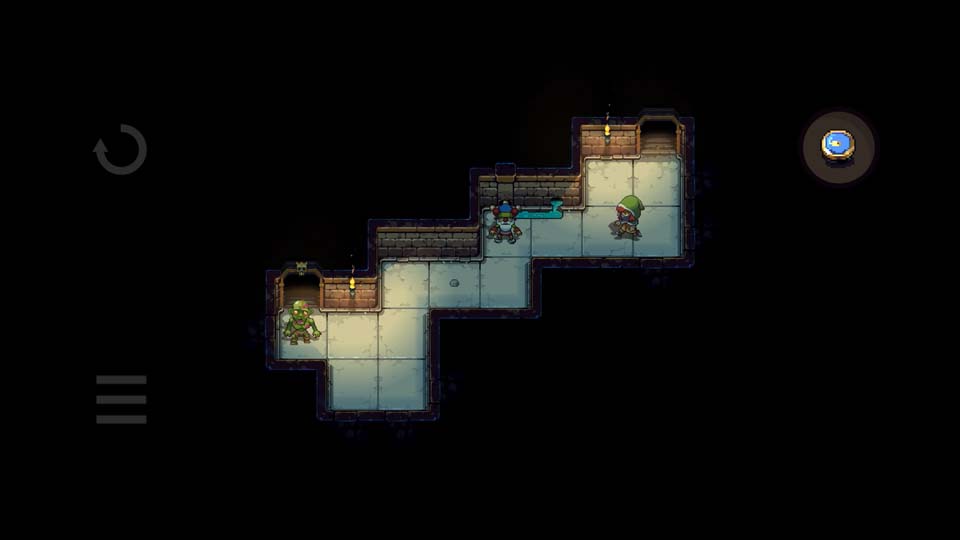
The spider has the key! This level introduces combat with enemies that can take more than one hit. The trick here is to first avoid the web, then let him get close and start the attack, duck out of the way, and come back in to get a hit off afterwards. This technique is used throughout the later levels too, and it’s a useful one to master.
Dungeons of Dreadrock chapter 5
The absolute most important, key, vital, crucial hint here is: don’t be like me and get taken out by the mage.
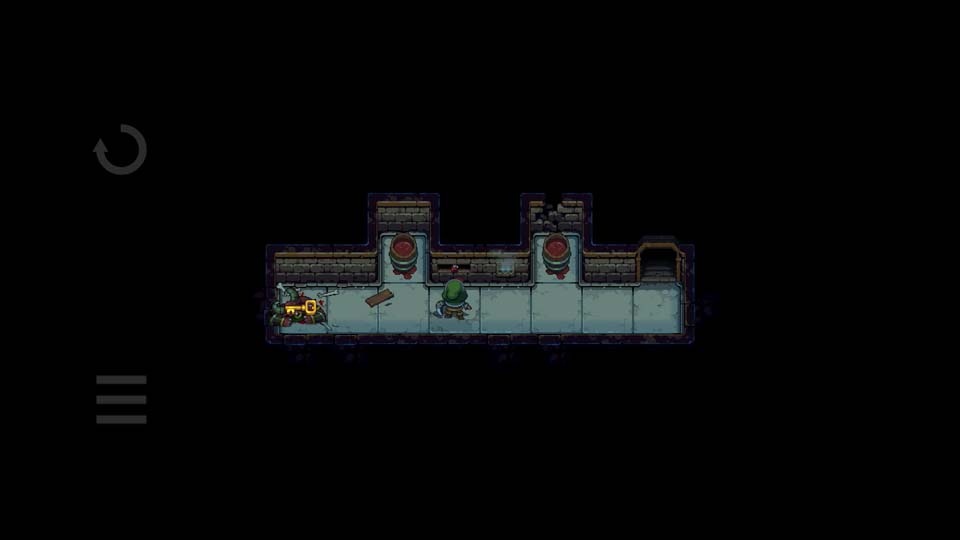
Dungeons of Dreadrock chapter 6
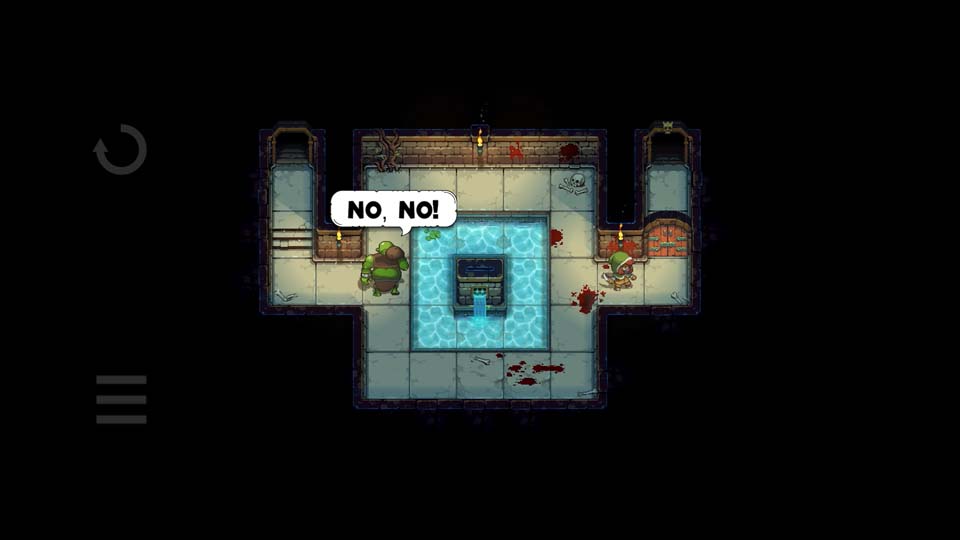
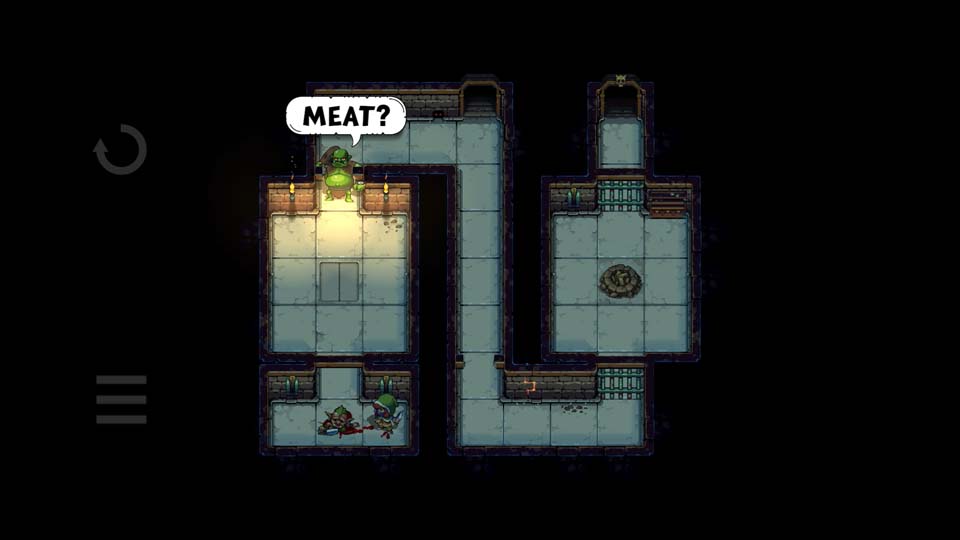
You don’t need to take down the ogre. You can, which makes the later levels trivial, but you don’t have to. Lead him around the fountain in the middle, then get a few hits off on the door while he’s ambling his way back. Run away if he gets too close before the door is down, and repeat if you need to. This door takes five hits.
Dungeons of Dreadrock chapter 7

Swipe and hold. A useful trick to remember. You can use the zombies to slow down the ogre.
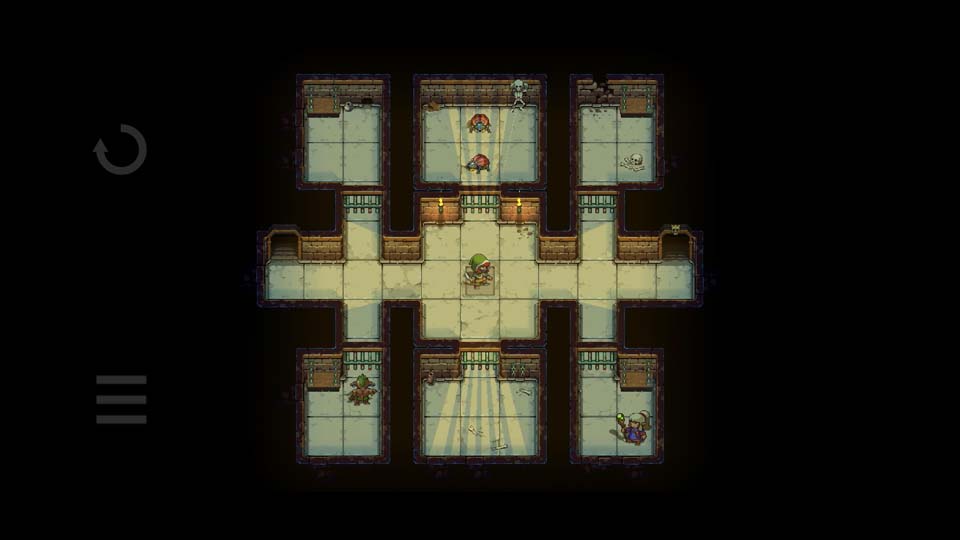
Dungeons of Dreadrock chapter 8 (and 9)
In case you’re wondering, yes, the ogre is smart enough to avoid the trapdoor if you leave it open. Don’t ask how I figured that one out.
Dungeons of Dreadrock chapter 10
This one’s a tricky level and no, if you’re stuck here, it’s probably not your fault. You have to make sure that the first goblin does NOT die on the pressure plate. Otherwise his body will weigh it down (even though it’s invisible) and the fireballs will keep going off forever. This was a little bug that was fixed, but I’m leaving this description here just in case you discover it again.
Otherwise, the solution is simple: draw the goblins into the trapped hallway and the problem will take care of itself.
Dungeons of Dreadrock chapter 11
Hint: Check the walls. Isn’t there one that looks slightly different from the others?
Solution: The wall on the far right has a stone that you can pull out. You can then throw this stone towards the portal, then run for the pressure plate that opens up the gate. The stone will land on the pressure plate you can’t get to and open the final gate for you.
Dungeons of Dreadrock chapter 12
Hint: “Don’t waste them”, the chapter title, refers to the spike traps. Zombies die in one hit. The ogre does not.
Hint 2: You can safely walk through spike traps that have been set off.
Solution: Take out the zombies with your sword, then draw the ogre through both spike traps. Pull the switch and run for the gate, keeping in mind that you can walk through a spike trap once it’s been activated. If you take the long way around, you won’t make it in time.
Dungeons of Dreadrock chapter 13

Hint: I’m sure you found out the hard way what happens when someone teleports into an already occupied space. There’s no reason you can’t take advantage of this.
Solution: First, go left and through the left portal, which teleports you next to the goblin on the right. Take care of him, then go towards the ogre and draw him out.
Lead him towards the left portal, then jump through the portal when he’s close. Wait until the ogre is on the tile by the torch, with the scuff marks on the ground, and step into the portal. That takes care of your ogre problem!
Dungeons of Dreadrock chapter 14
Hint: Take it slow. The fool only moves one tile at a time, and you have to lead him into a dead end to get the key.
Solution: Go towards the fool, then wait for him to run away from you. Approach him one tile at a time, until he stops on the crossroads below the table. When he stops there, back off and approach again from the right to force him into the hallway with the exit, and follow him into the previous level.
When back on level 13, he steps on the pressure plate and pays the price. Pick up the key, come back to this level, and that’s it!
Dungeons of Dreadrock chapter 15
Hint: Don’t rush. Take your time to take out the horde, and make sure to turn off the portals as you go back past them.
Dungeons of Dreadrock chapter 16

Hint: This level teaches you to avoid arrows and that you can duck and weave and do things in between each shot.
Solution: Hide from arrows in the alcoves, and pop out to hit the door between shots. When the door is down, run down the corridor and stand by the portal on the right. When the drow shoots, step out of the way, and the arrow will come through the other portal and take him out for you.
Alternatively, you can wait by the skeleton until the drow gets close and stab him, if you prefer to get up close and personal. You psycho.
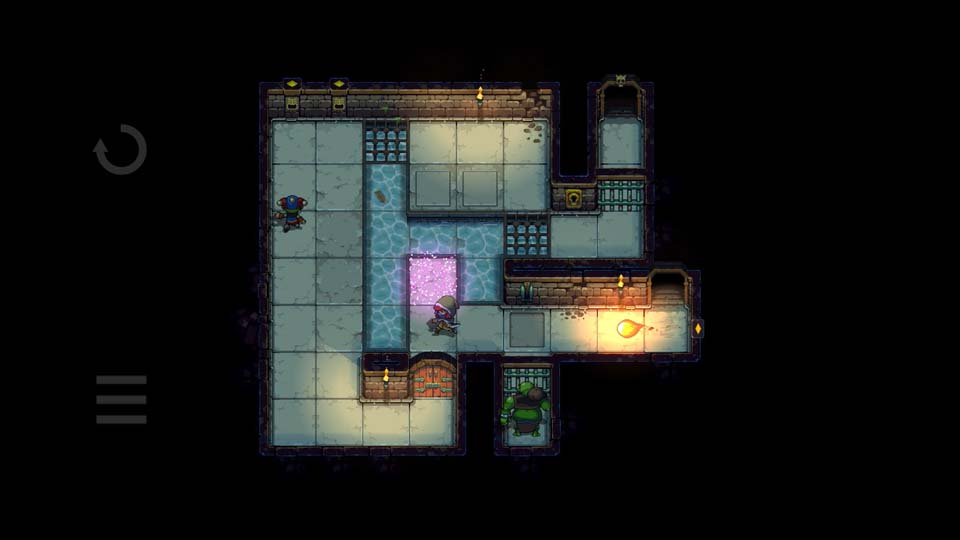
Dungeons of Dreadrock chapter 17 (and 18)
Hint: There’s no way, right? Well, the walls aren’t what they seem.
Solution: There are invisible walls that you can duck through to get to the grate before it closes. In the screenshot above, there’s an invisible tunnel directly to the right of the character through both walls.
Dungeons of Dreadrock chapter 19
Hint: Those spike traps are rather conveniently placed, aren’t they?
Solution: Run through each hallway making sure to stand by your escape route. When the minotaur starts charging, move out of the way and let him impale himself as you run for the next safe spot. What got me on this level was that you don’t have to break down the door near the end, he’ll happily charge through it.
Take the key from the final spike trap, and you’re home free.
Dungeons of Dreadrock chapter 20
Hint: Enlightening. Light. Funny how there’s one lever for every single tile, isn’t it?
Solution: Pull the levers that are directly below the torches in the room above.
Dungeons of Dreadrock chapter 21
Hint: Pick up the spear. And don’t throw it at the poor guy… he can’t hurt you without it. He will do his best to retrieve it though!
Solution: Bait him into throwing the spear at you, then pick it up. Stand on both pressure plates on your side, then throw the spear onto one of the plates on the right. Wait for the spear to be thrown back at you, then throw it onto the second pressure plate, which will open the bottom gate. Dodge the spear one last time, pick it up, then use it to weigh down the pressure plate right by the exit.
You don’t even have to kill the poor guy down here.
Dungeons of Dreadrock chapter 22
Hint: Trees are slow to attack. Try attacking one when it’s safe and see what happens.
Solution: Walk up to a tree and then step back to avoid its attack. Step forward quickly and you can hit it before it has a chance to attack you again, which moves it back a tile.
Move the tree on the left back a tile, walk around it, then smack it a few times – until it ends up on top of the pressure plate that opens the way out.
Dungeons of Dreadrock chapter 23
Hint: You can’t pick up that key, but you know who could? That’s right, our angry friend with the hooves.
Solution: Avoid the minotaur and lead him into the spike trap to pick up the key. Lead him back across to the other side, then pull the lever to open the pitfall trap and send him down… into the next level. Which is where you need to go next, down the stairs on the far right.
Dungeons of Dreadrock chapter 24
If this level doesn’t make any sense, you’re probably actually stuck on the level above (chapter 23). Just remember to pick up the red potion before you leave.
Dungeons of Dreadrock chapter 25
Hint: The only trick here is patience. It can be frustrating if you can’t quite get the pattern right, but here’s something that will help: alternate your moves. If you moved down before, your next move will likely be either left or right. If you moved across, the next move will probably be down.
Once you have the key, it’s a similar pattern. Go up – right – up – right – down – onto solid ground. Or like in the video walkthrough, if you’re really quick you can skip right across if you time it well.
Dungeons of Dreadrock chapter 26
Hint: You have an empty bottle. Yes, that’s an empty bottle and no, I didn’t realise that either. If only there was a way to fill it…
Solution: Pick up all the bottles from the alcoves. Interact with the running water a couple of times to fill the empty one. Each alcove has an object nearby that shows you which colour goes where.
The order is yellow and red at the top, and green and blue in the bottom two.
Dungeons of Dreadrock chapter 27 (and 28)
Hint: That’s a long way for the spirit to travel, all the way from one side to the other…
Solution: Go through the top-left or the top-right portal, then wait until the spirit gets close to you. Hop back through the portal, and go into the one on the opposite side. Run for the nearest switch, pull it, then wait by the portal you just came through until the ghost is close. Repeat with the remaining switches, and run through the gate before he catches up.
Dungeons of Dreadrock chapter 29
Hint: What happens when you weigh down all three of the bottom pressure plates?
Hint 2: Activate the portal only after the fool throws the stone back.
Solution: Pick up all three stones. Throw one on the left-most plate, and the other onto the right-most. Throw the third stone across the water. When the fool goes for it, step onto the middle pressure plate. Your goal is to get him to throw the stone back across, and only then run through the portal.
Once he’s gone, pick up all three stones and throw them at the pressure plates across the water.
Dungeons of Dreadrock chapter 30
Hint: You used the portals to redirect the drow arrow back at him already, right? Now you need something to weigh down the pressure plates, right? Well, didn’t you just come from a level where you used three stones to weigh down three pressure plates?
Solution: Go back up the stairs, pick up the three stones you probably left up there, then come back. Then this chapter is all about timing. Walk past the drow, pull the lever to activate the portals. Turn the portal off at just the right time to kill the drow with his own arrow.
Turn the portals back on, and throw a stone into the bottom-right portal. Stand by the lever and turn it off at just the right time so that the stone lands on a pressure plate. Repeat until every plate is weighed down.
Dungeons of Dreadrock chapter 31
Hint: If you can avoid the arrow for long enough, one of you will get bored…
Solution: Walk across the hallway and avoid the first arrow, then fearlessly run down the corridor. Wait for the drow to activate the portals and shoot, then move back and forth to avoid the arrow he shoots. Make sure to stay near the bottom of the land strip. After a couple of cycles, he opens the gate at which point you can jump him.
Dungeons of Dreadrock chapter 32

Hint: The dream is important. And also, aren’t there two walls that are ever so slightly different from the rest?
Solution: There are two secret buttons in this level. One to the left of the grate, as far as you can go, and the other in the little niche on the right. Take a nap on the bench below, then push the buttons in the same order as the skeletons jumped in the trippy dream.
The order is: left, right, left, left, right, right, left, right.
As far as I can tell, if you mess up, you can just start over immediately, but don’t quote me on that…
Dungeons of Dreadrock chapter 33

Hint: Take this patiently and don’t rush.
Solution: Go up towards the drow above, using the alcoves to dodge arrows. One at a time. Smash down the door, take out the drow, then pull the lever to close the trapdoor. Repeat on the other side, then pull the other lever to close the second trapdoor. Take down the second drow on your way out.
Dungeons of Dreadrock chapter 34
Hint: Don’t pull that lever until you’re ready.
Solution: Run forward towards the door, smack it once, then jump through the portal. Repeat a few times until the door is down. On your final run, pull the lever to let the ogre out. Make your way up towards the fool, ducking left and right around the fireballs.
If the ogre is still alive by the time you’re up there, stand on a pressure plate until the fireballs finish him off. Kill the fool, take the ogre’s key, and away you go.
Dungeons of Dreadrock chapter 35
Hint: Fire kills skeletons permanently.
Solution: Draw the skeleton into the path of the fireballs, but not so far that he activates it on you. Take him down and run to the lever on the right, which should take him out permanently. You can then pull the lever on the left to open the door and leave safely.
Dungeons of Dreadrock chapter 36

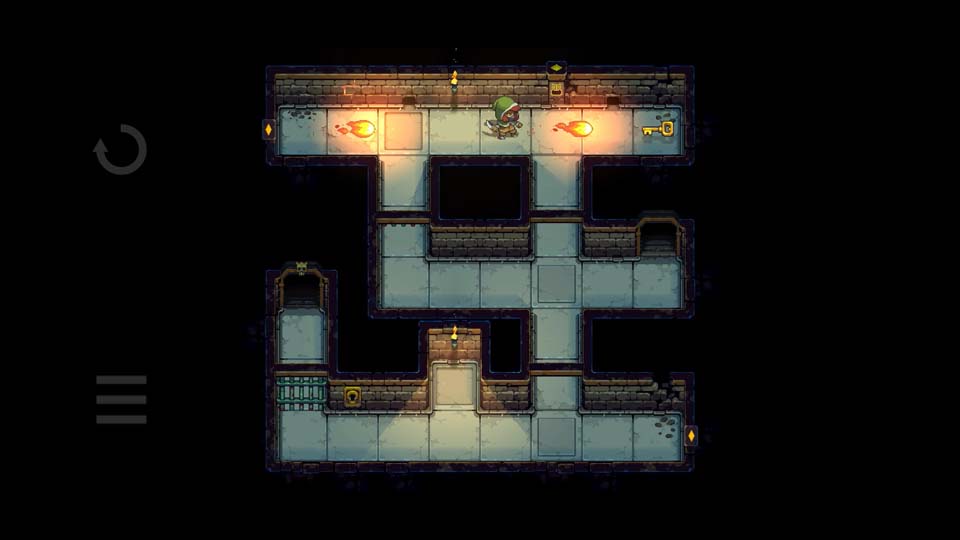
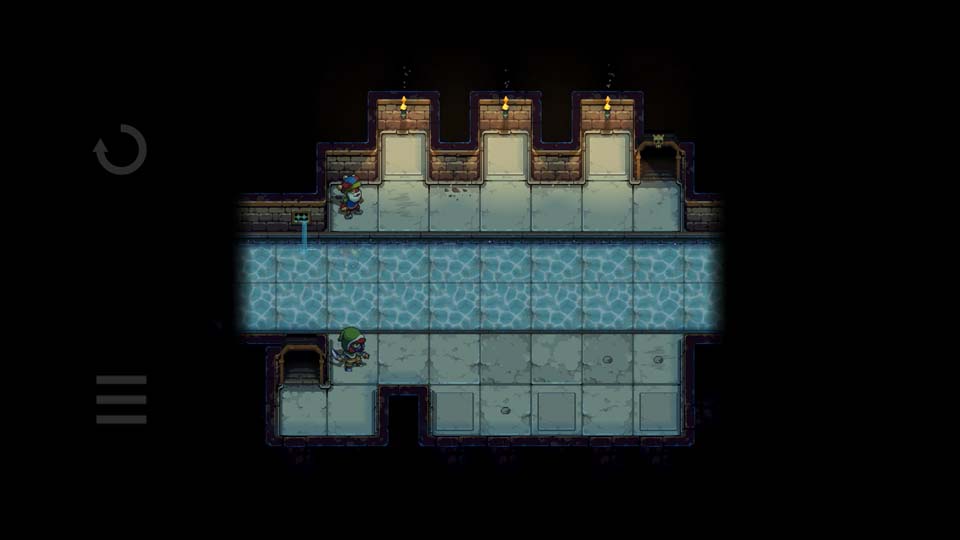
Hint: Notice any special marks on the floor?
Solution: There’s an ‘X’ scratched into one of the floor tiles. Where the character is standing in the screenshot above. If you go down from here, you’ll find a secret passage.
Dungeons of Dreadrock chapter 37
Hint: I don’t know what to tell you, there is literally no way to get past the watcher. You might as well go back.
Solution: The only way forward is backwards. Go back to the previous level and look for another way through.
Dungeons of Dreadrock chapter 38
Hint: Spiders are tricky. Don’t get webbed and don’t get cornered.
Solution: Stand in the passage below the fireplace, then step off to the side to avoid the web. When the spider gets close and goes in for a bite, step away to avoid it, then come back in and smack in. You’ll have to do this a couple of times.
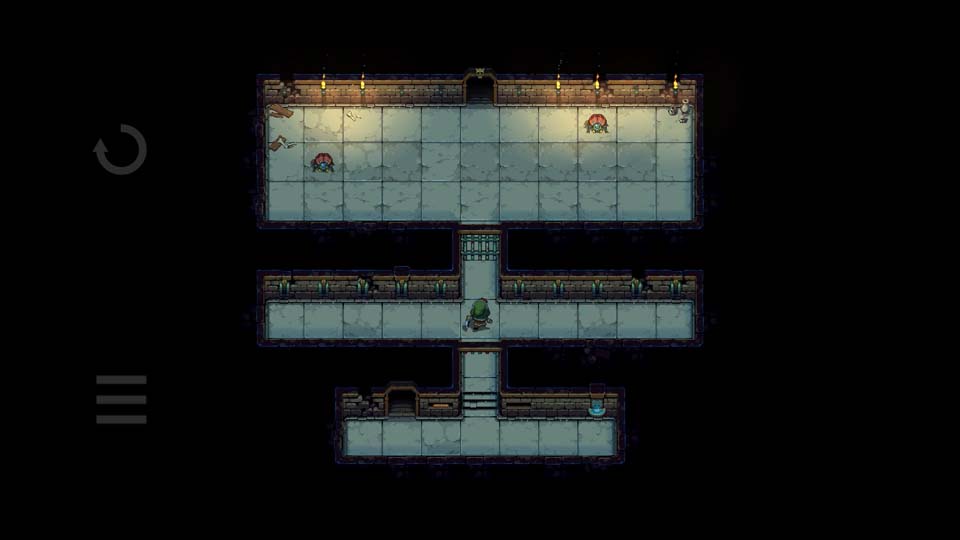
Dungeons of Dreadrock chapter 40
Hint: Four pressure plates. Three bodies and a friend…
Solution: You need to kill the goblins and the zombie on top of the pressure plates to weigh them down. Leave the drow till last.
Open the left-most gate, then stand on the second pressure plate from the left. When the goblin gets close, kill him. Take one step back onto the third pressure plate, and kill the second goblin over the second plate.
Open the right gate. The zombie can take three hits, so carefully hit it twice in the main room. Stand on top of the right-most pressure plate and wait for it to approach. Kill it over plate three.
Free the drow and he will stand on the final pressure plate to let you out… and give you a note, which will be handy later.
Dungeons of Dreadrock chapter 41
Hint: You can’t catch the spear, but a zombie would do just fine.
Solution: If you make sure that a zombie is between you and the spearman, his spear will kill the zombie and fall to the ground. Pick up the spear, then throw it onto the top pressure plate. Run through the gate while it’s open and wait for the spearman to pick it up. He’ll throw it back at you, so dodge it and pick it up again.
Throw it at the bottom pressure plate and off to the next chapter you go.
Dungeons of Dreadrock chapter 42

Hint: The portals very subtly tell you which direction they are aiming. Keep a close eye on the particles.
Solution: So there’s actually two ways to complete the level, one far easier than the other.
The easy way is: rotate the bottom-left portal to aim up. Stand on the pressure plate at the bottom-left. Throw your stone into the portal, and it’ll land on the pressure plate above to set you free.
The more complicated way is: rotate the bottom-right portal to aim left. Rotate the bottom-left portal to aim up. Stand by the stairs and throw the stone into the top portal, then run for the pressure plate below you.
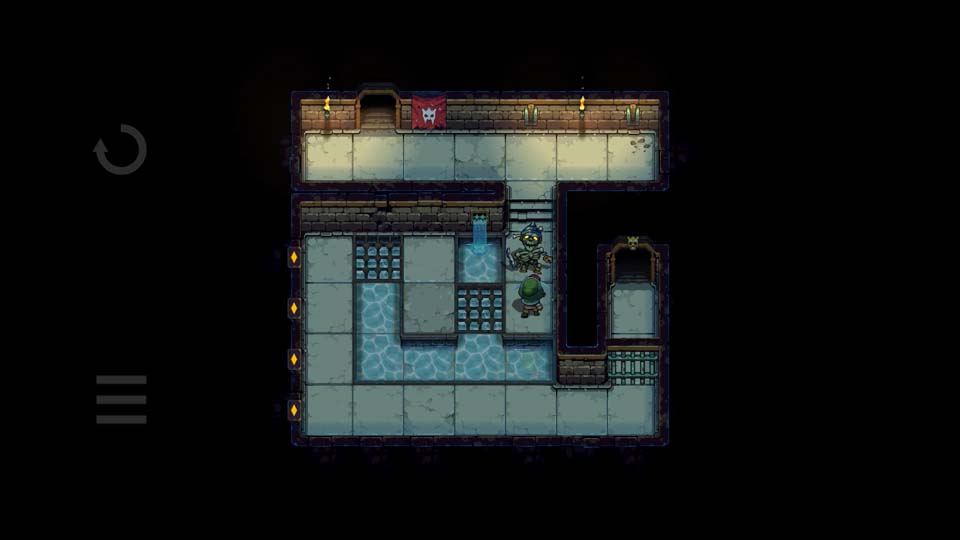
Dungeons of Dreadrock chapter 43
Hint: Don’t you have something in your inventory?
Solution: The note in your inventory from the drow a few levels back is the answer. Each angle/corner on the note corresponds to a pressure plate on the floor, and some have to be activated more than once. For reference, here is the note.
Dungeons of Dreadrock chapter 44
Help the dude! That’s kinda it, this level introduces a really cool new mechanic.
Dungeons of Dreadrock chapter 45

Hint: You need something to weigh down the pressure plate. Have you checked the walls?
Solution: Throw the sword at the pressure plate, draw a bug (or two) towards you, then pick up the sword and take them out. Repeat if necessary. There’s a stone you can take from the wall, just above the top bug in the screenshot above. Leave the stone on the pressure plate, instead of your sword, and remember to pick up the compass on your way out.
Dungeons of Dreadrock chapter 46

Hint: Three trees, three pressure plates.
Solution: Hit the tree on the left from above to push it onto the pressure plate. Walk to the bottom and throw your sword at the tree in the bottom-right to push it onto the plate next to it. Pick up the sword and walk up to the final trapdoor.
Throw the sword at the final tree to push it left once, then run all the way to the entrance, picking up the sword along the way. Push the tree all the way down to the bottom. Once there, throw your sword at it from across the water to push it onto the final plate. Remember to retrieve the sword on your way out!
Dungeons of Dreadrock chapter 47
Hint: Those portals are awfully convenient. Anything you throw in there will continue to fly back and forth until someone steps in the way.
Solution: Throw your sword at the portals and get out of the way. Go for the pressure plate on the far right, but don’t step on it just yet.
Try to time it just right so that the goblin gets hit by the sword on his way out. There’s a chance he’ll get through, so you might have to try it a couple of times.
Dungeons of Dreadrock chapter 48
Hint: Hooo boy. There’s no easy hint I can give here, just make sure to rub your face against all the walls.
Solution: This level is connected to the next one. Your objective is to drop four items through the four trapdoors. There are three stones in the level, two hidden inside the walls.
Start by throwing your sword into the pressure plate next to you. Walk across and pick up the three stones:
1. In the wall between the two trapdoors.
2. In the wall above the top-right trapdoor.
3. On the floor.
Throw one of these stones at the pressure plate on the right, then go back and retrieve your sword. Now here comes the tricky part:
Throw a stone at the top-left trapdoor, and leave it there. Throw a stone at the top-right trapdoor, and leave it there. Pick up the stone from the right-most pressure plate and step off it to drop the two stones into the next level.
Now, weigh down the same pressure plate with your final stone. Throw the sword onto the bottom-left trapdoor and leave it there. Pick up the stone, which drops the sword into the abyss.
And finally, throw that last stone you have into the now open bottom-right trapdoor. That’s it, you’ve now completed possibly the trickiest level in the game! Now head on down to the next level.
Dungeons of Dreadrock chapter 49

Hint: Stuck? Check out the previous level.
Hint 2: Got through the grate and still stuck? Leave your sword behind.
Solution: You can open the gates by dropping four items from the level above. One of these will be your sword. You can’t take the sword, so leave it behind for now and go forward into the unknown! (the next level)!
Dungeons of Dreadrock chapter 50
Hint: You can’t kill the fool without your sword. If only someone could help.
Solution: Get the fool close to the zombie, then walk in front of it. It’ll start to attack. Step back quickly and get the fool to run into the attack instead.
Now that you have an extra stone, go to the level above and retrieve your sword, leaving the stone in its place. Come back down with the sword, kill the zombie, and escape!
Part 2
One hundred levels was a bit much to put all on one page, sorry!
Part two, chapters 51-100, is right here!